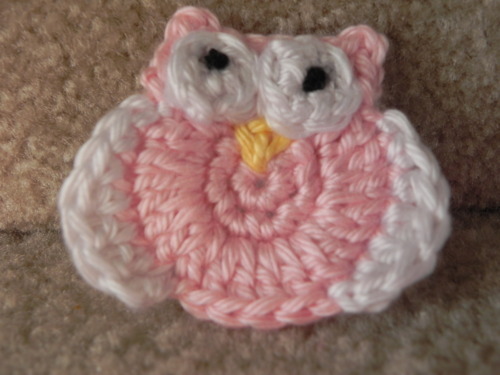
I have been searching and searching for a cute little owl applique. Let me tell you, there are not many out there that are free. So I had my laptop on my lap. Equipped myself with my yarn and needle and began making my own little owl. I hope you all find him cute and useful. All that I ask, is that you do not sell my pattern. Use it to embelish as you wish, but please don’t sell the pattern. I graciously thank you and here we go…
Oh one more thing… This is my first pattern that I have created and then tried to write out. If there are weird errors, please forgive me and let me know so that I can make the necessary changes.
F hook (3.75mm)
BODY
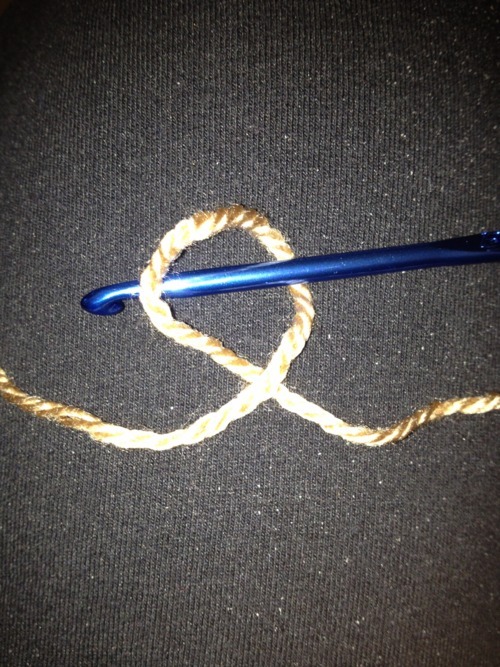
I like to use an adjustable ring to start. The directions I used are located at this adjustable ring link. I have never been fond of the whole chain x amount and then slip stitch and then crochet in the loop. This is a breeze to use. If you are not interested in creating an adjustable ring then you can chain 4 and sl st in first chain to create a ring.
6sc in loop join with sl st
chain 1, sc in sl st, 2 sc in next 6 sts, join with sl st
chain 2, 2ds in next 12sts, join with sl s do not finish off
Tighen ring as desired with center tail
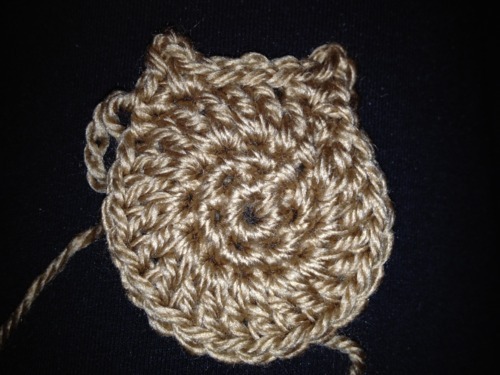
EARS
starting with sl st from body, all in next st - sc, chain 2, sl st in second from hook and sc (1 ear)
sl st the next 3
all in next st - sc, chain 2, sl st in second from hook and sc (1 ear) then finish off.
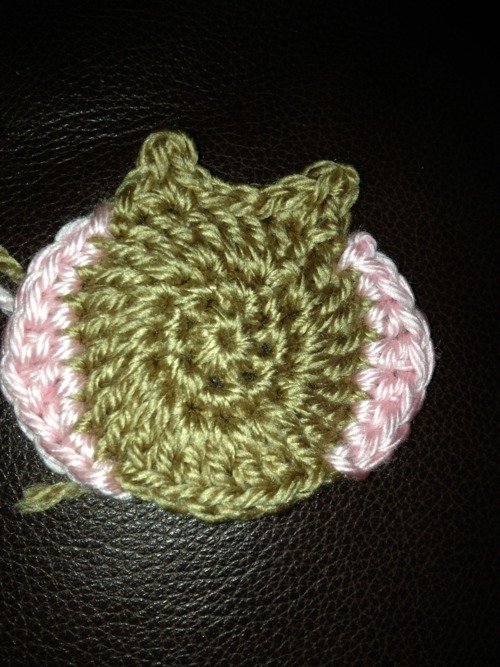
WINGS
with your wing color, sl st next to last ear created (I started on my left side of the owl).
sc in next st, hdc in next st, ds in next st, ds in next st, hdc in next st, sc in next st, and sl st; finish off.
for the right side start at the bottom and work your way up. start 6 st from end of left wing.
sl st to join in color. sc in in next st, hdc in next st, ds in next st, ds in next st, hdc in next st, sc in next st, sl st in next st, - finish off. You should end right next to the right ear.
EYES
leave a long tail for sewing on a adjustable ring loop.
6sc in loop and join with sl st - finish off.
With black yarn, create pupil how ever it is easiest for you. I came from the back up through the middle, tied a knot and threaded it back down the center again. maybe do it twice depending on how you want your effect to look. Make two of these eyes.
BEAK
Take your beak color and sew a triangle between the eyed and point it down.
Then voila!!!! A cute little owl!!!
this owl is so cute, i cant wait to get my hook out and have a go xx
ReplyDeleteSoooo cute thanx for sharing!
ReplyDeleteHaving trouble doing it. Not surprised, my class only taught me how to do granny squares..I love owls so much too.
ReplyDeleteCant wait to make this for my daughter. Thank you so very much
ReplyDelete